Top Ten DIY Tips

DIY Tips for Any Project
Hi everybody, its FB Hubby again. On Monday, I wrote about our biggest DIY project to date, finishing the basement. As I mentioned, my Dad came up to help me for 10 days of the project, and then I was on my own (well, Shannon did help paint) for the rest of it. I have done many DIY projects in the past from redoing a bathroom, installing a back door, electrical work, installing a double oven and a dishwasher, and even some plumbing (I hate doing plumbing).In the past I wrote on Shannon's blog about the Top Ten Tools everyone should have to do most basic DIY things around the house. So today, I would like to share my Top Ten DIY Tips, things you should do to make your own DIY projects go better.
1) Measure, Measure, Measure
There is an famous saying the the DIY space, "measure twice, cut once". Yeah, that is all fine and dandy for people who have been doing this stuff for a while. In my mind, it should be "measure six times, go get ready to cut, then go back and measure two more times." When I was cutting ceiling tiles for the basement, I would swear that I measured the odd sizes correctly, only to cut the tile, come back, and it was too small. I can't tell you how frustrating (and what a waste of materials) it can be. So measure, a lot.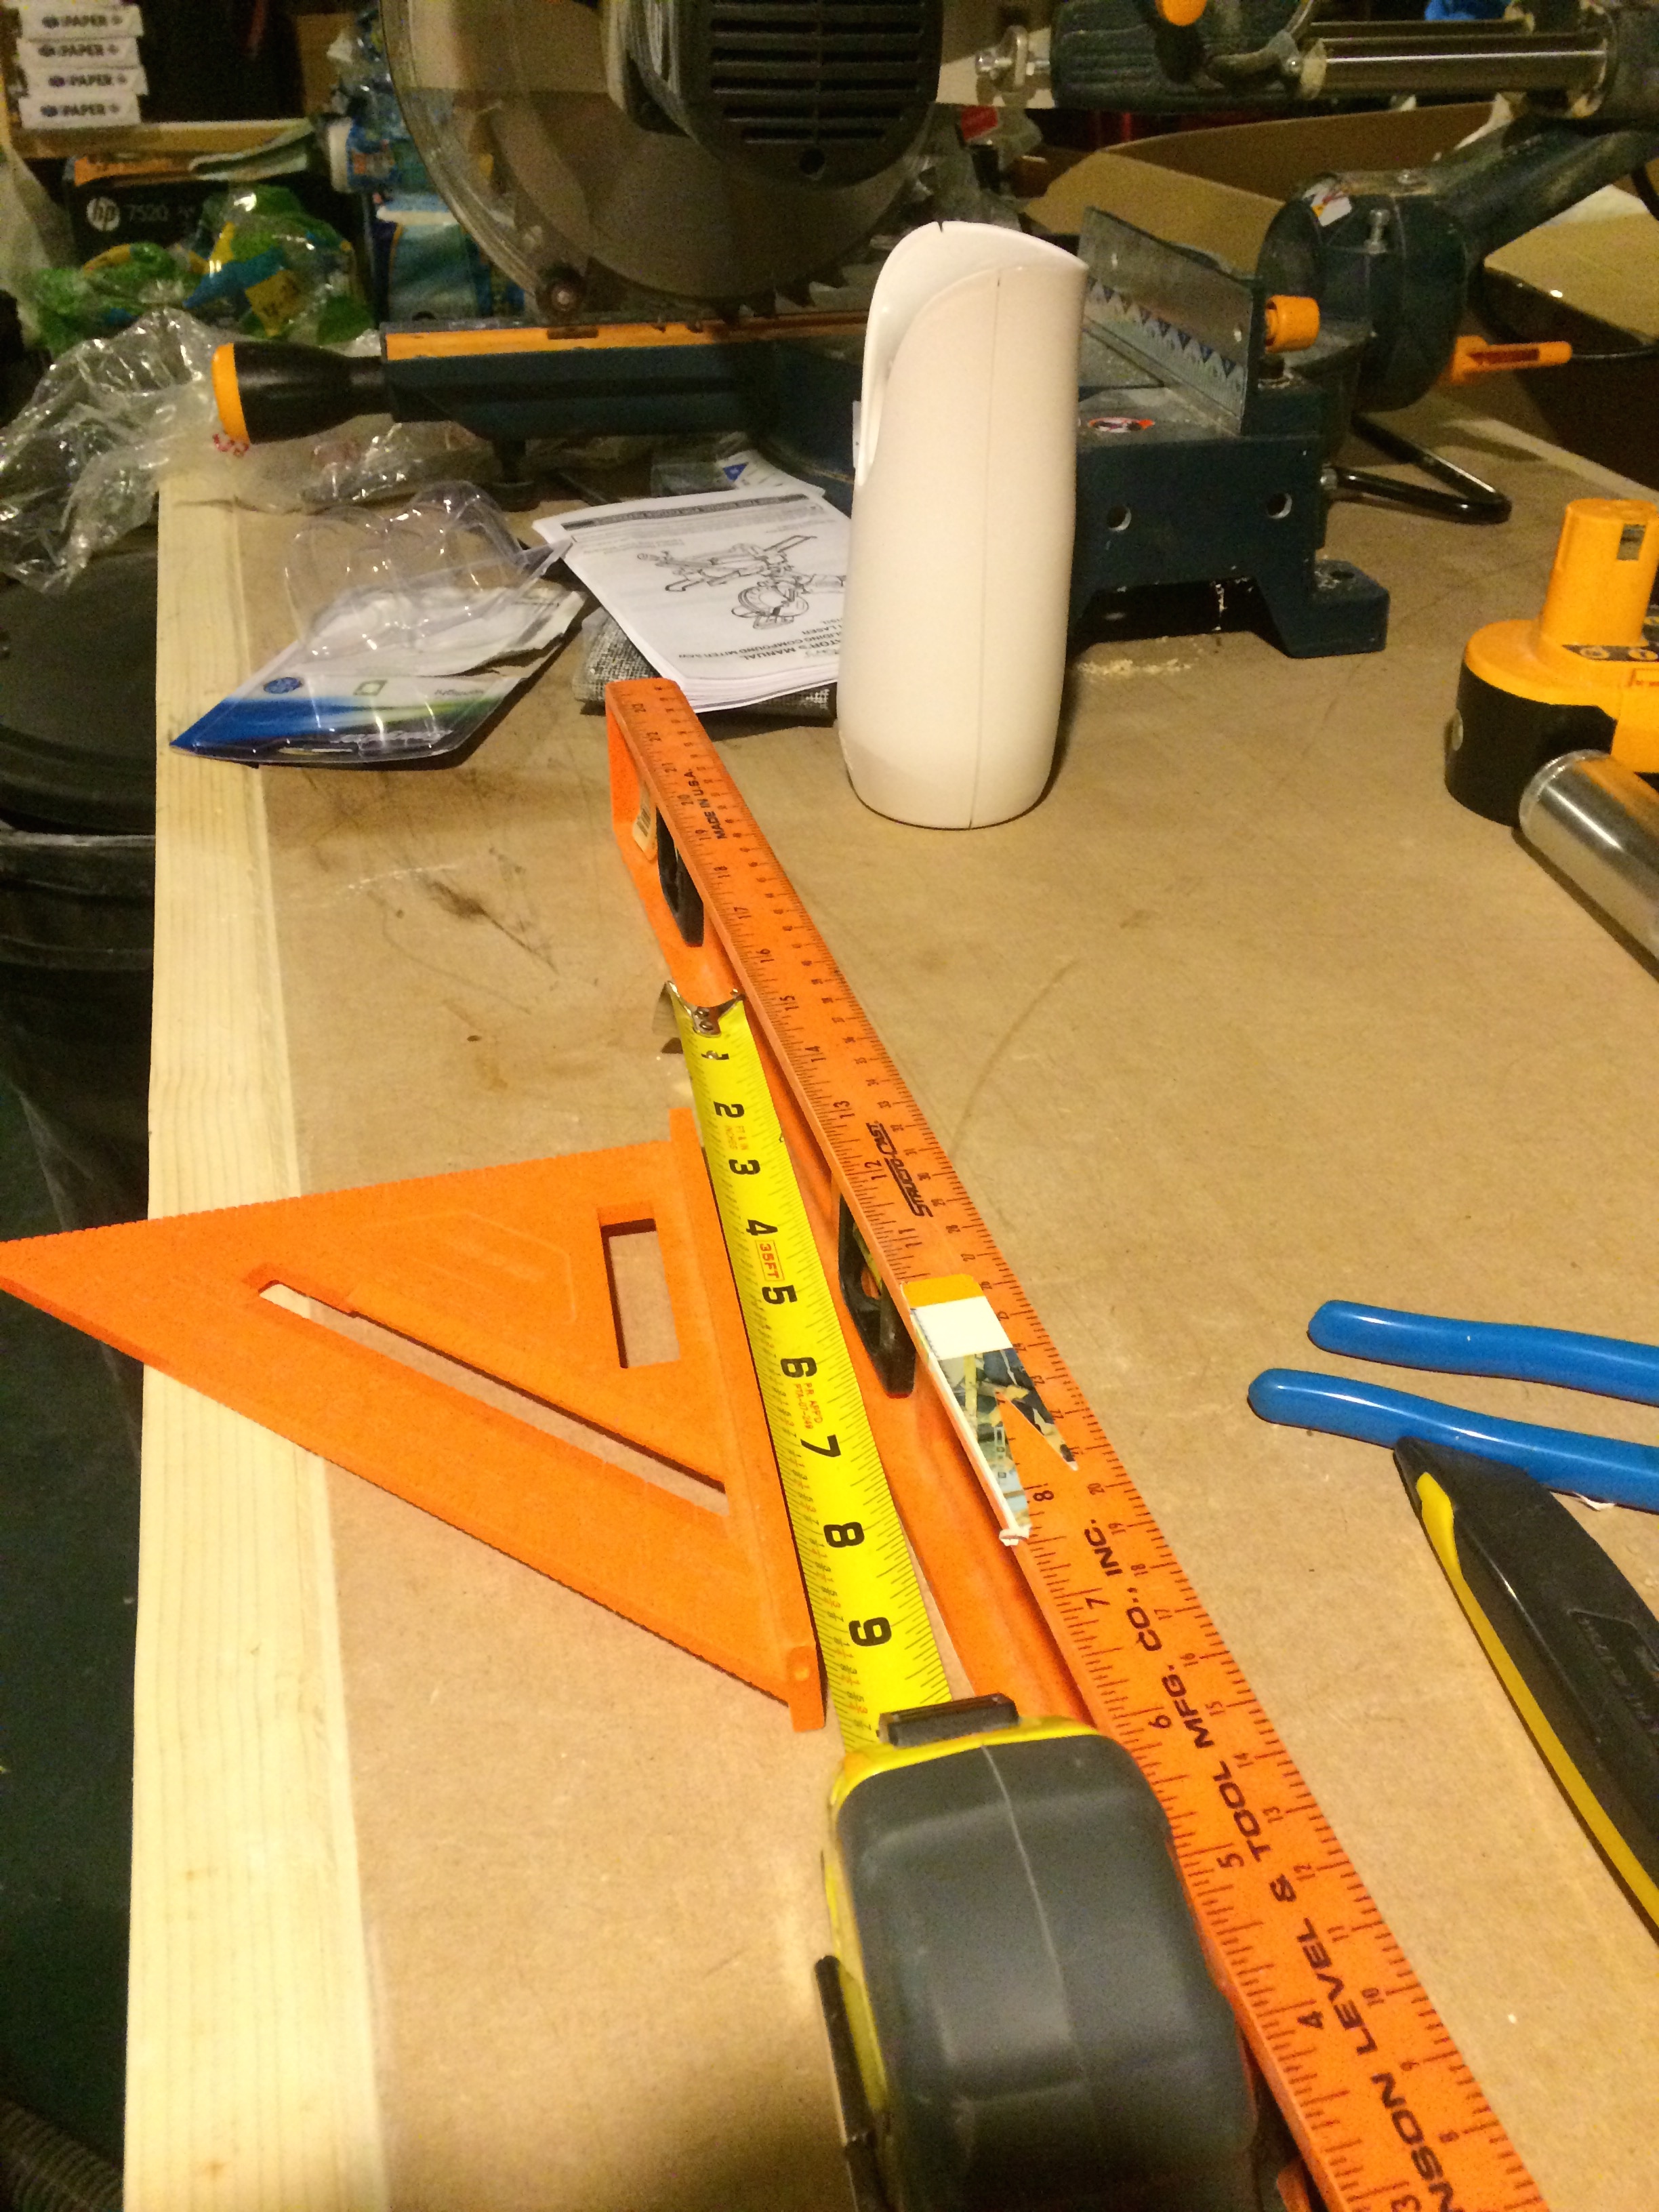
2) Turn off the Power
Everything you read about working with electricity tells you to turn off the power before working with anything electrical. Well, there is a good reason for that, it is to keep you from, at best getting hurt, or, at worst, dying. The problem with all us DIY people is that the better we get with things, the more we are apt to take short-cuts. One of those tends to be not cutting off the power. Trust me, cut off the power. During the basement project, we wired in a new circuit breaker to power the outlets in the basement.We powered a single outlet to use, and then ran wires from this outlet to the locations where we would add other outlets. Only two wires were directly attached to the outlet, while the others waited to be hooked up. When I finally got to the point of installing the other outlets, I thought, I can hook them all up until I get to the wire that is hooked to the live outlet, then cut the power. However, two of the wires got crossed and when I went to strip what I thought was the dead wire, I clamped down on the live one. Man I am I glad there are circuit breakers, but the large spark was as surprising as any shock I would have received if I had not had insulated wire strippers.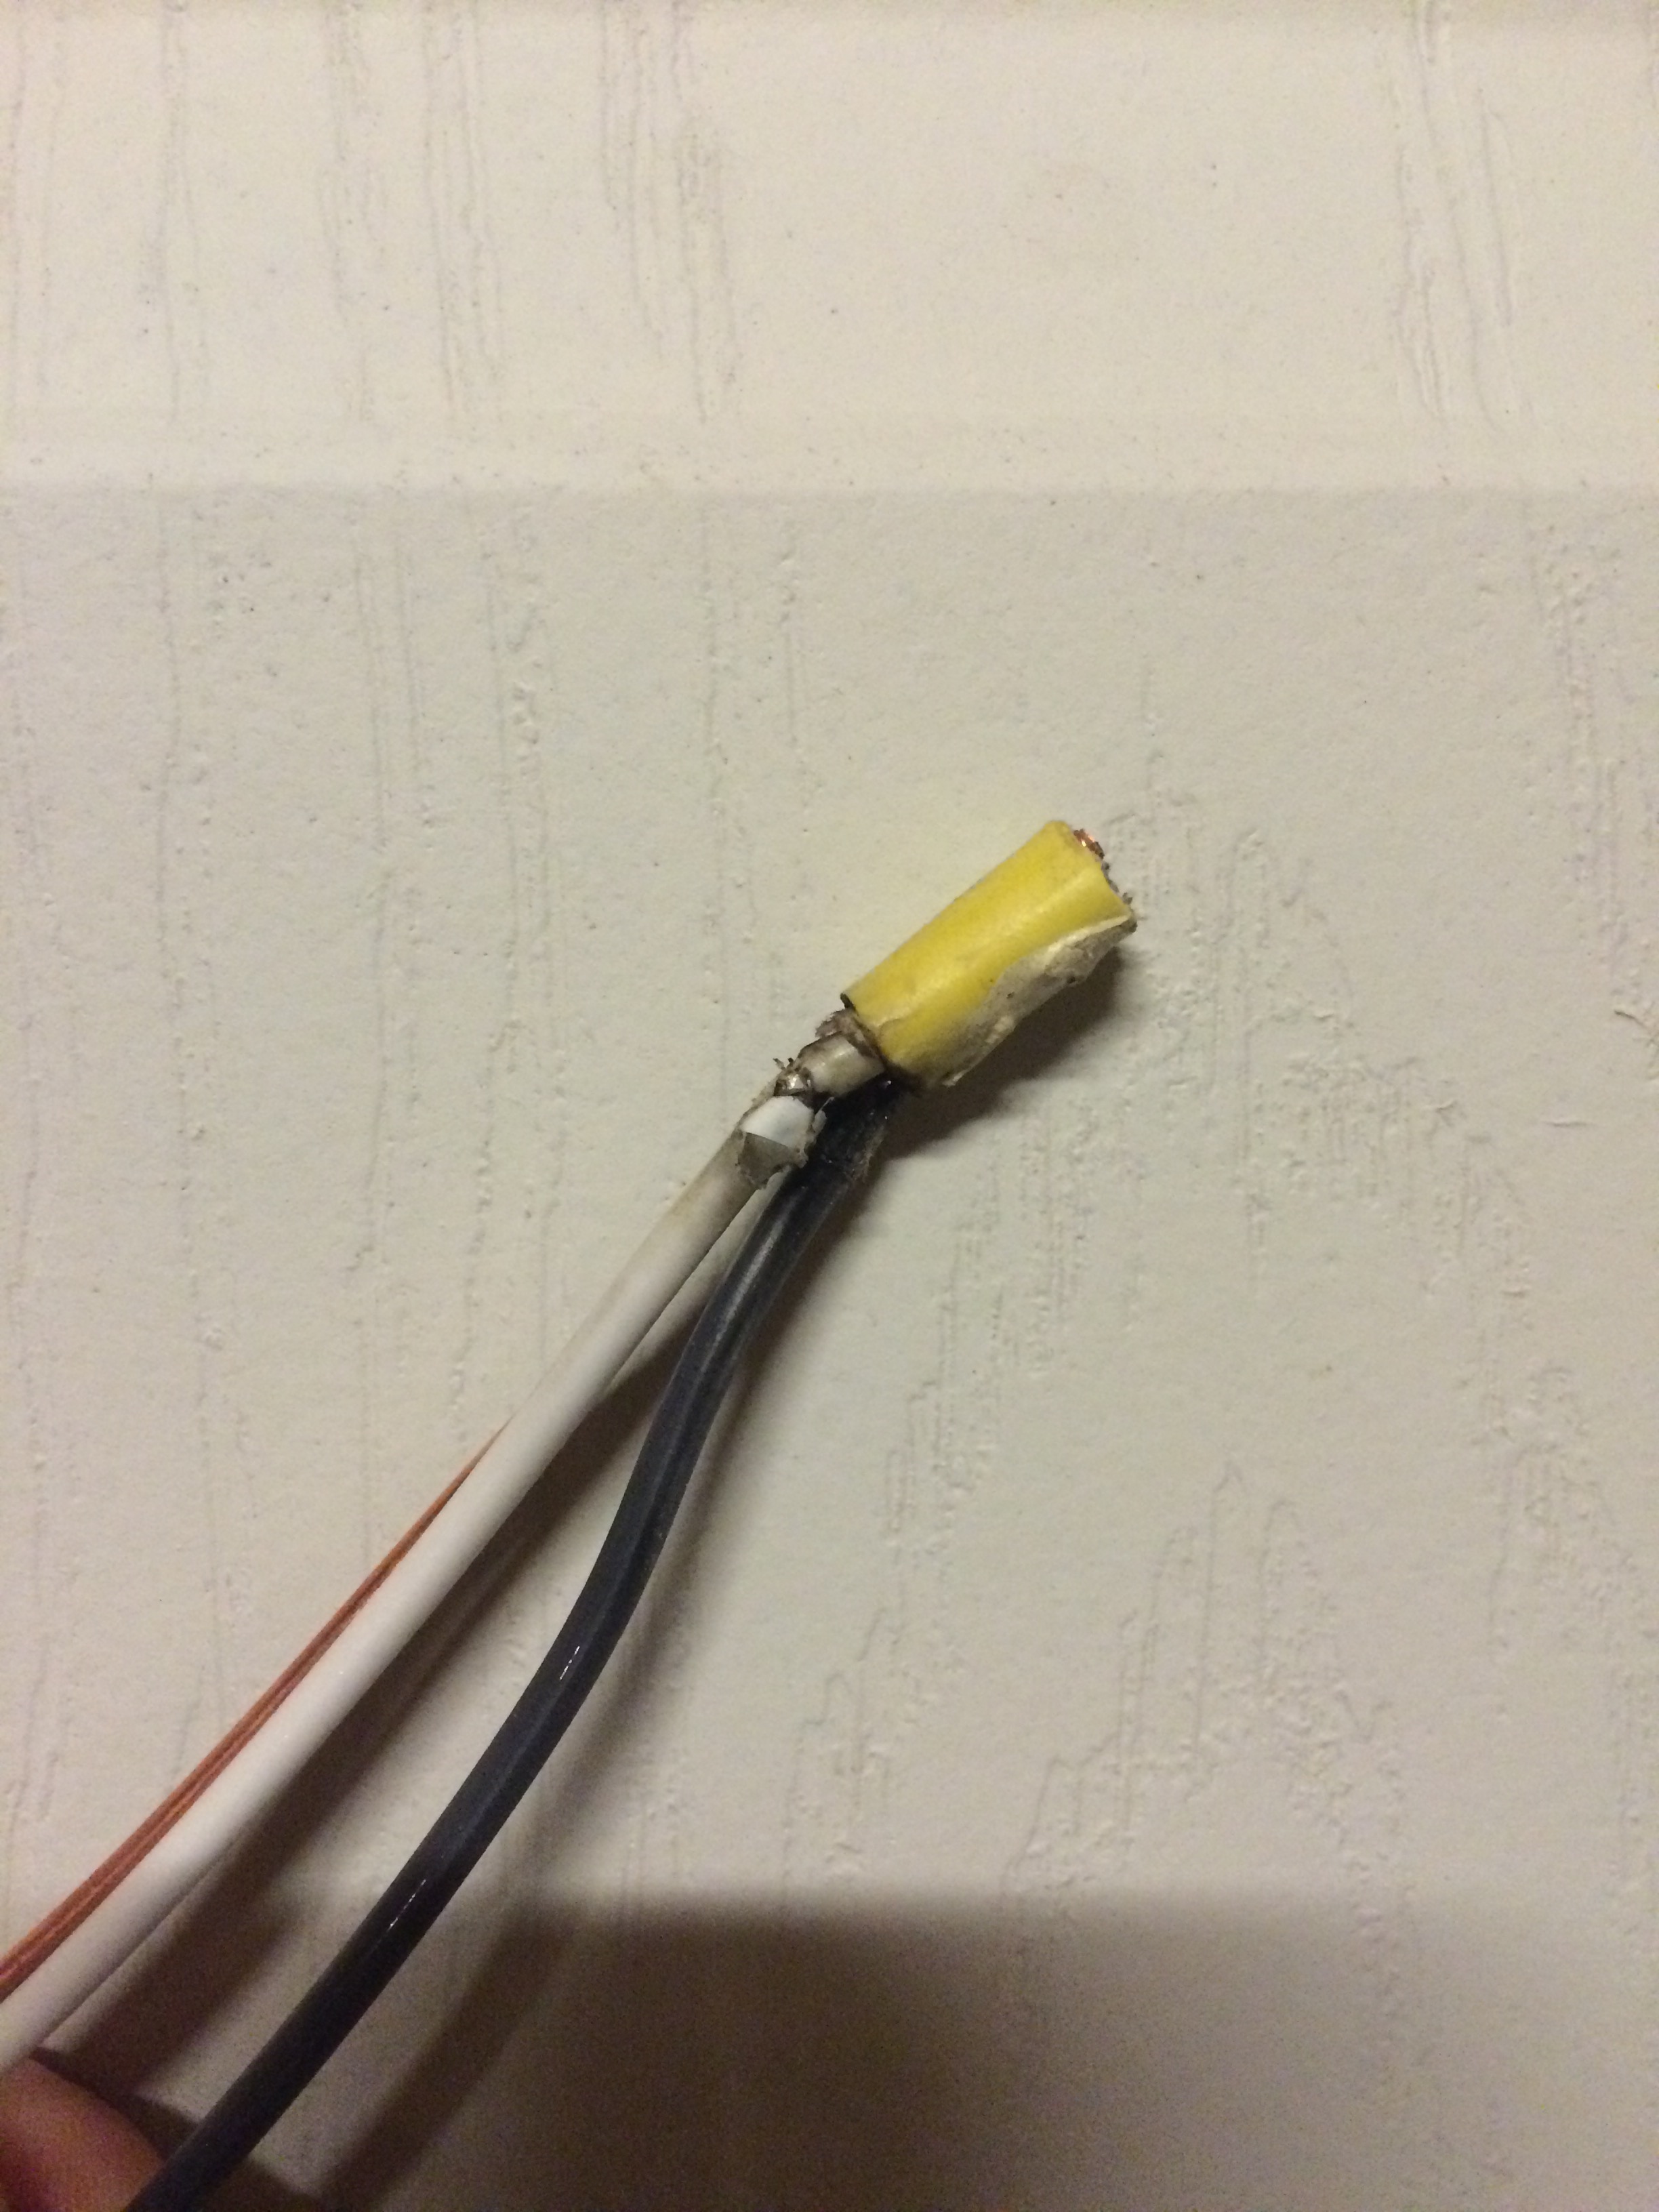
3) Recognize Your Limitations
Jerry Seinfeld did a routine about how we all think, in some way, that we are superheroes. He used the example of people tying a mattress to the roof of a car, and then holding on to the top of it with one hand while we drive. As Seinfeld says, the idea is that if the rope breaks, "I got this!" The same can happen with DIY projects.We think that because we changed a switch, we can rewire the entire house. I replaced our garage door opener, and the safety cables, no problem. However, one day, because they were old and rusted, the many torsion spring broke. I read up on how to fix it, thinking I could do it. However, everything I read ended with the possibility of breaking my hand, losing a finger or two, or, yes, getting killed. So recognizing that this was out of my league, I did call a professional. Yes, it was expensive, but I like having my fingers.
4) There is no Substitute for the Right Tool
OK, so sometimes there is. We have all grabbed the butter knife rather than going to look for the screwdriver. However, when it comes to doing a serious DIY project, the right tool can make all the difference in the world. One of the tools my Dad brought with him was a framing nail gun (I don't have one). This thing was amazing at quickly putting together boards. The day we spent framing would have taken 2 days with a plane old hammer and nails. (How did people build things in the old days, anyway?)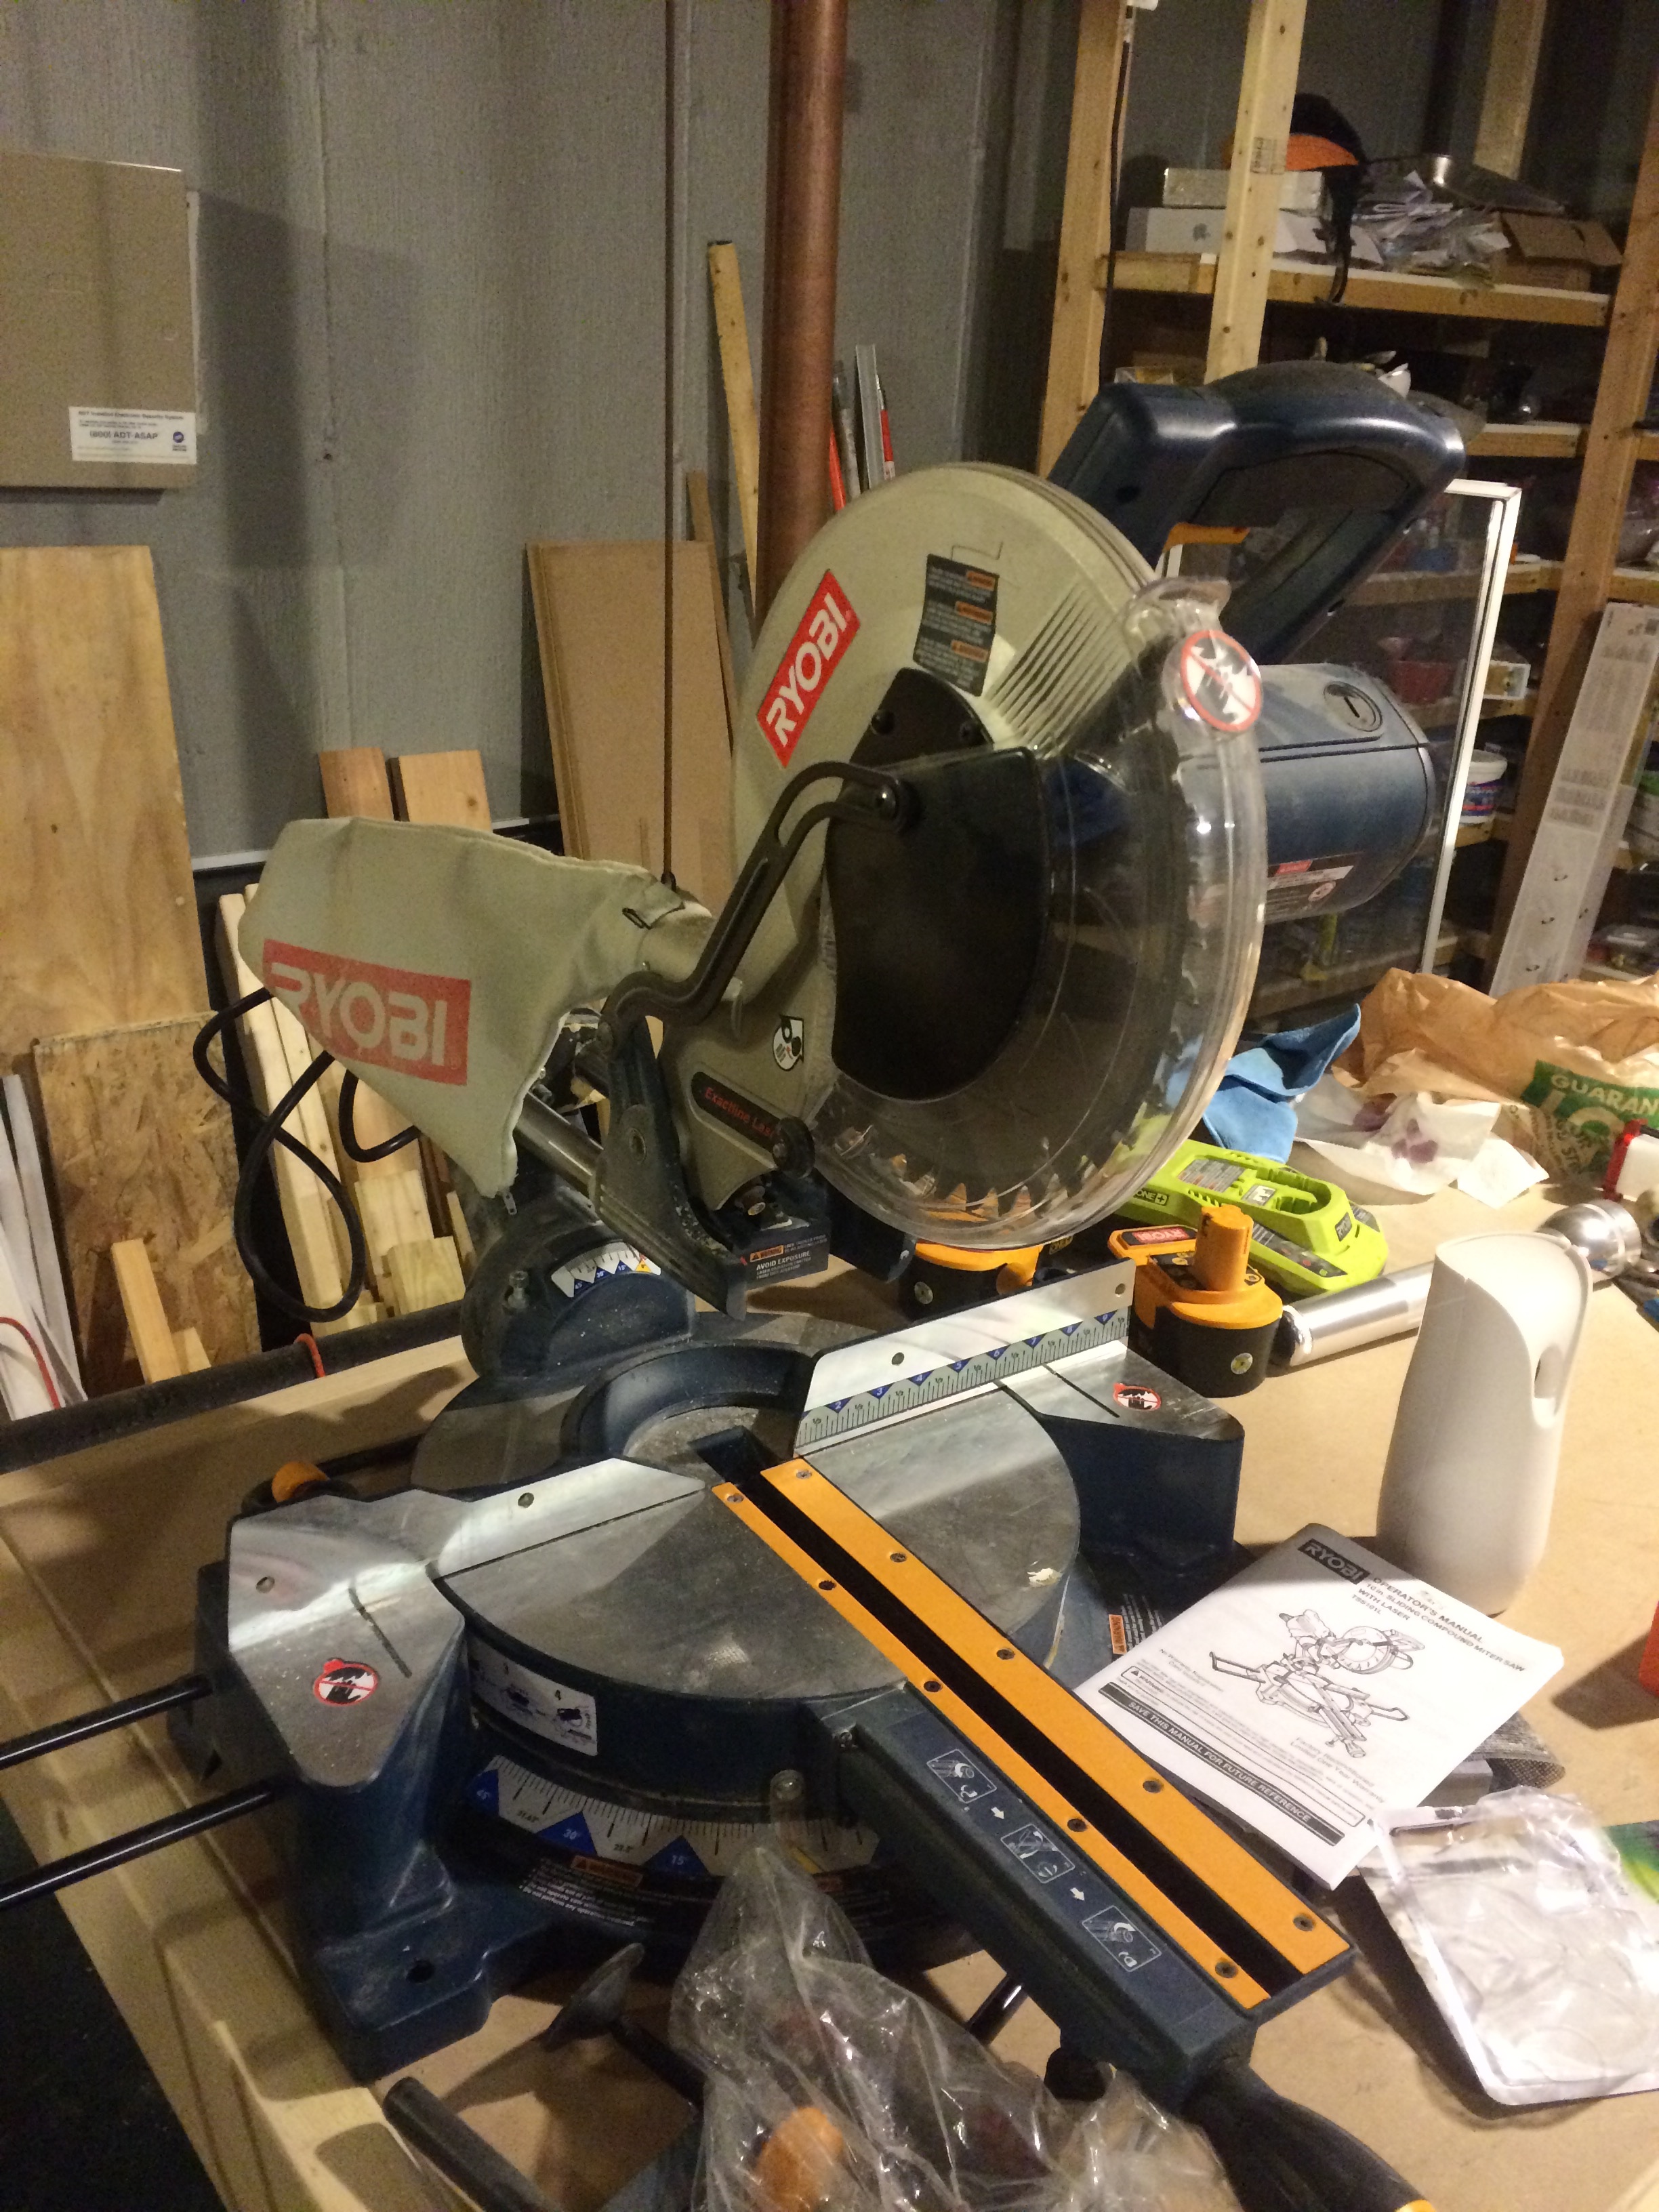
5) Get to Know Your Neighbors
What does this have to do with DIY, well, a lot. These days, we tend to be a society that keeps to itself. Not like my parents/grandparents days where everyone knew each other in the neighborhood and kids ran in and out of each others' houses. However, getting to know your neighbors has many benefits, one of which is knowing if they have certain tools. We have a really nice family across from us. I have chatted with Janet many times, but just before starting the basement project, I caught up with Eric. When I told him about the project, he mentioned that he had a ton of tools if I needed anything.So I was able to borrow a finishing nail gun from him after my Dad left, so I could do the baseboards. It was better than buying one, because I don't think I would need one again. BTW, to be a good neighbor back, when I returned it, I also brought a jar of my homemade marinara sauce as a thank you. Eric remarked that I was welcome to borrow anything else, any time.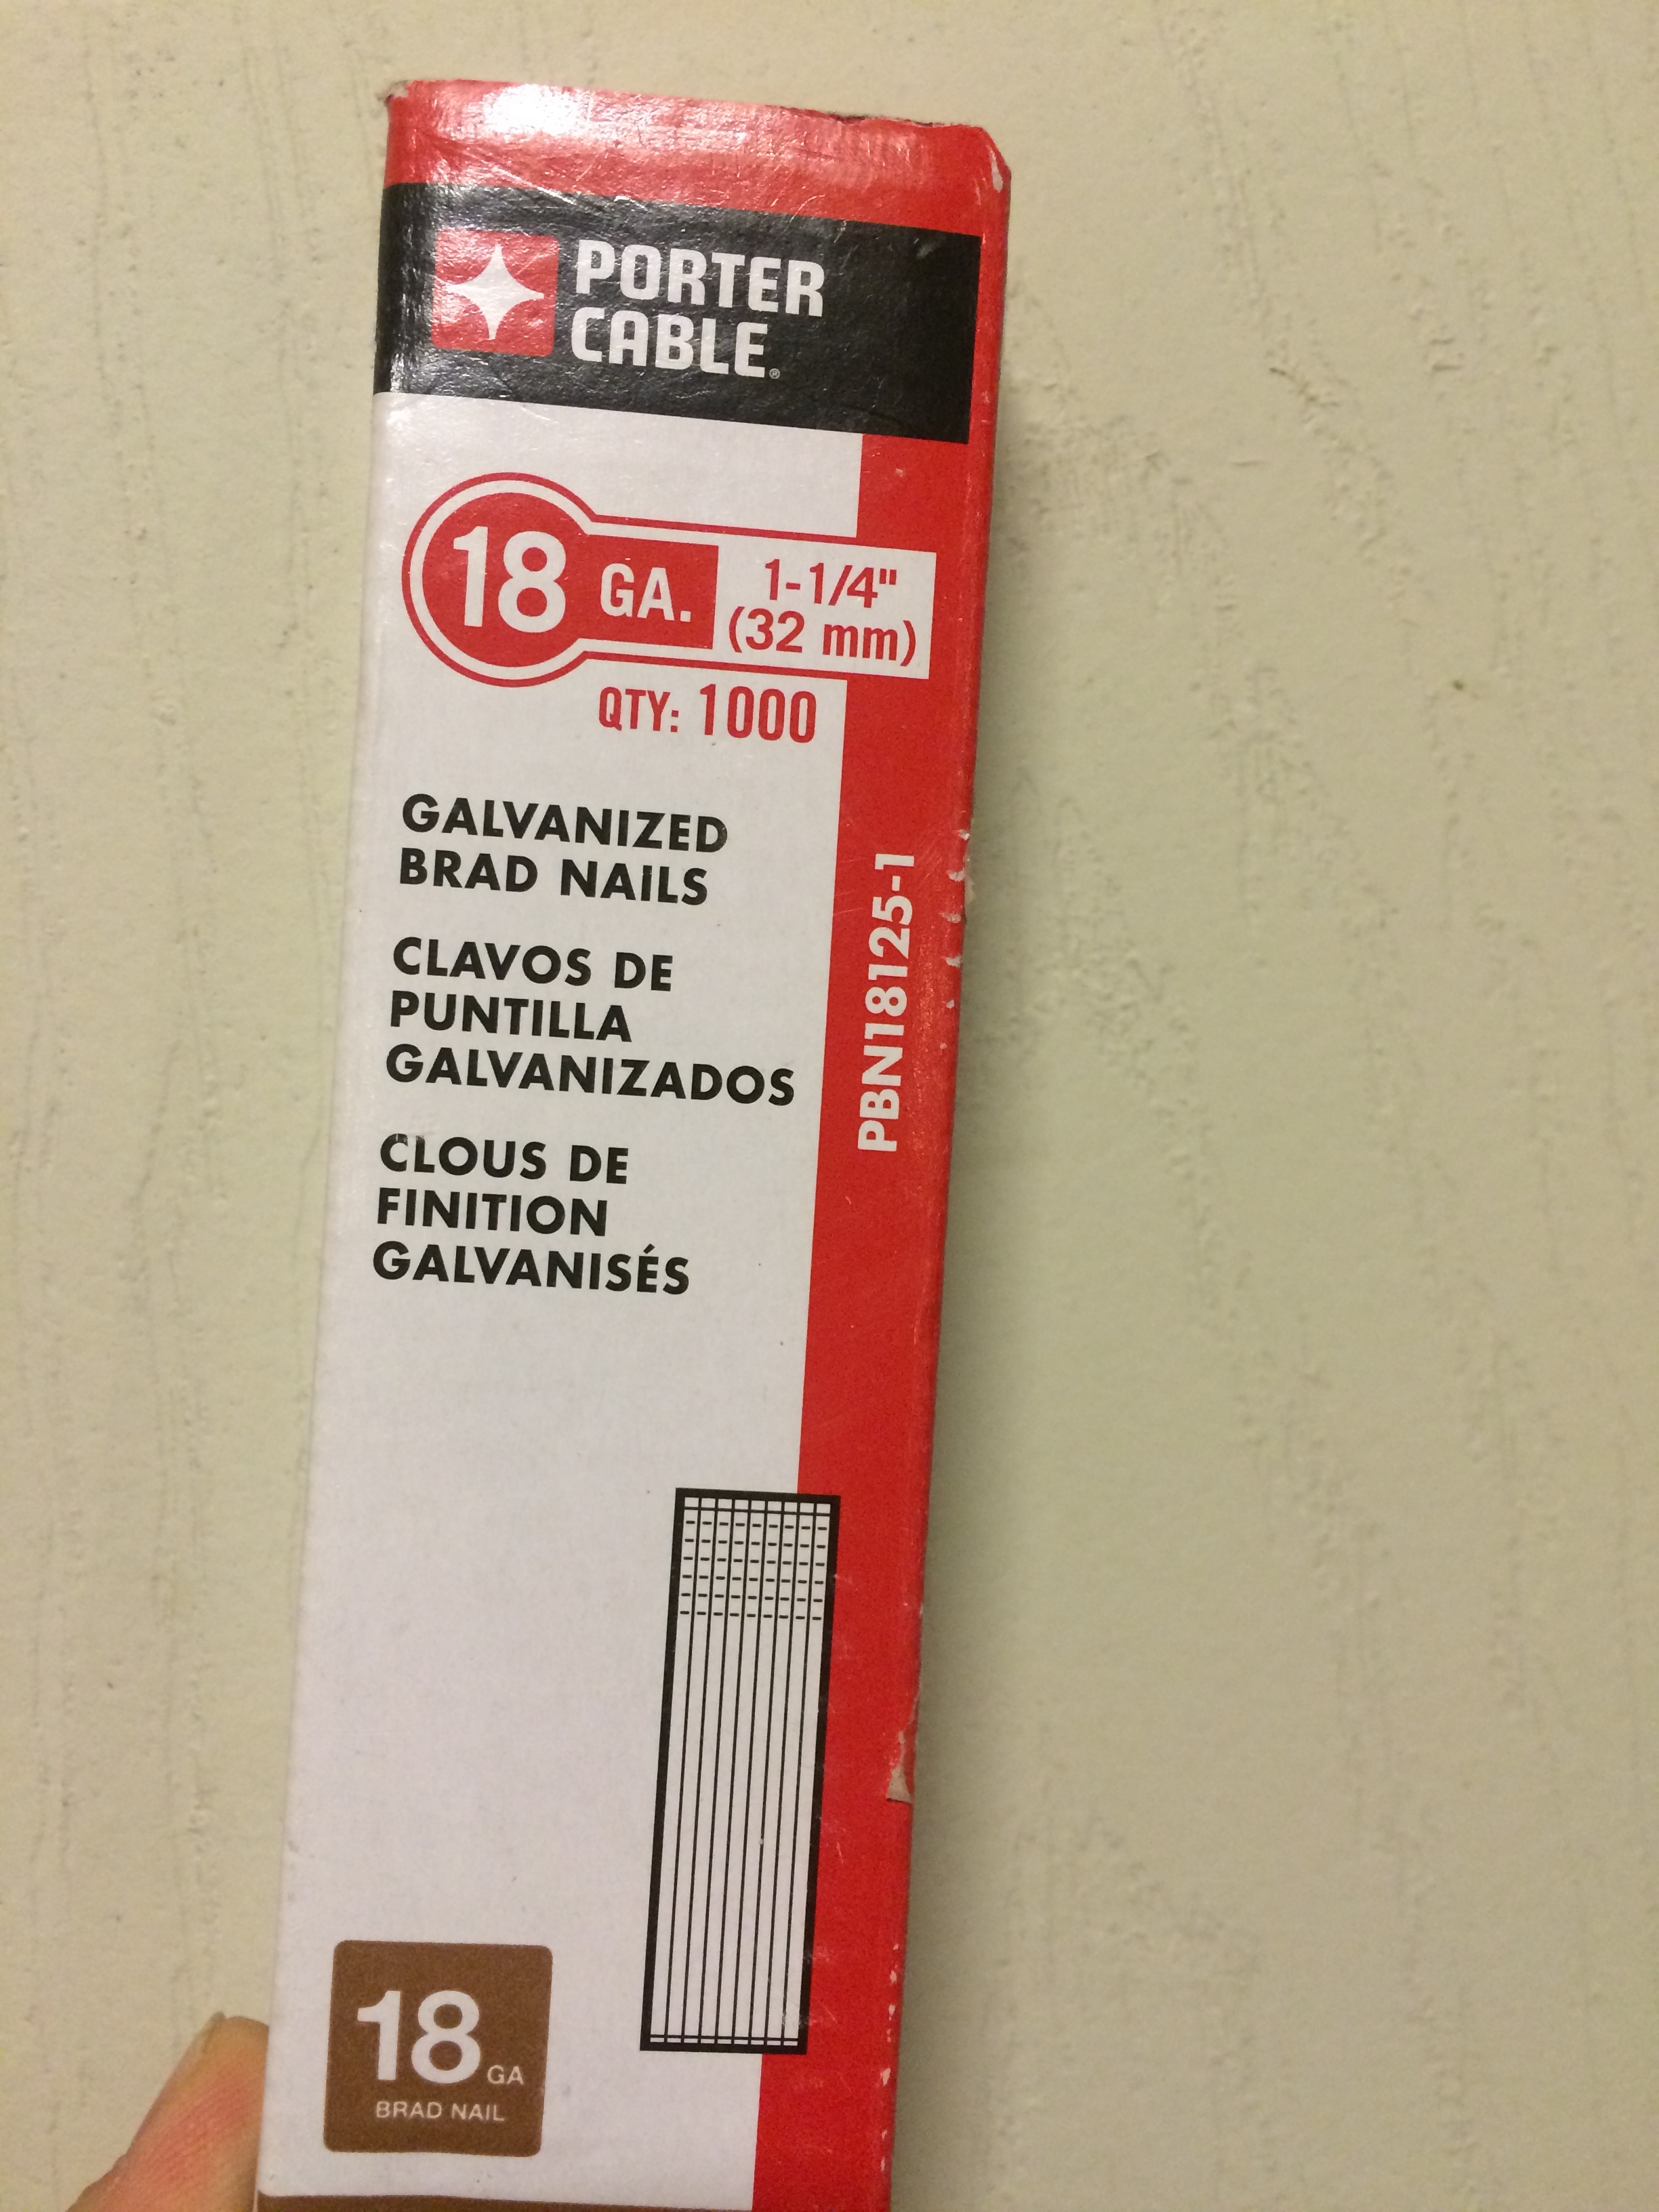
6) Use YouTube
When I had my first home, YouTube (and a lot of other internet stuff) was not around. So when I would try to DIY some things, I had to get a book on how to do it. In school, I was never a textbook learner. (I often tell this to my students, which is probably why I am not a textbook teacher. I don't assign them chapter from the textbook to read, even though I wrote it, I have them learn by what we do together in class.) So as hard as I tried, I could never get much from a DIY book.YouTube is the perfect solution for someone like me. Many times I have done a new DIY project by having my iPad next to me with a YouTube video on the same project playing. I can pause and rewind at any moment. If you are interested, I wrote a blog giving my favorite DIY YouTube videos.
7) Make a List, Check it Twice, Buy More Than you Need
No matter what DIY project you plan to undertake, you are going to need materials. This will involve a trip to the local Home Depot. Carefully plan out all your needs. Watch the video before you go and write down everything you need. Measure, measure, measure. Once you have your list, look at the project again and check the list. Then, when you are at Home Depot, get some extra materials.If you are putting down tile, laying bricks, wiring, etc, get about 10-20% more of the material than you wrote down. This will save trips back to Home Depot during the project, which can be frustrating when you are on a roll with the project. In the end, you can always return the extra, or keep it around in case you ever need to replace some of the materials later.
8) Ask for Help
People hate to ask for help. We always think that we will be looked down upon for asking for help. As a teacher, one of the things I tell my freshmen every year is to come see me for help when they don't understand something. For the first month or so, few if any come. They think being seen coming for help means that everyone will think they are dumb. Then, after a few do come for help, they understand how much it benefits their understanding of the material. (My seniors never have a problem coming for help).The same goes for a DIY project. If you are working on something and having trouble, call someone you know who can help. I could have attempted the basement project on my own. However, I knew that it would have taken longer and I would have made many mistakes. So I asked my Dad for help. Relying on his knowledge and experience saved lots of time and lots of money!
9) Run the Numbers
The best part about a DIY project is the money you save by doing it yourself. Anything you hire someone to do, whether it is as mundane as unclogging a drain or replacing a switch, to something as big as redoing a kitchen, it is going to cost more in labor than in materials. However, even when you do DIY it, it is still going to cost something. So sit down and run the numbers for those bigger projects. Decide whether the project is really a must do versus a would be nice to do.In some cases, you may find that the cost does not outweigh the benefits, even if you do it yourself. (Also, count on the final cost being possibly 10-30% more than you first thought.) In the case of our basement, we knew that the investment could yield a 4-5 time return when we sell the house, but would also have a more immediate return on our home life (certainly a win-win for us). We also had the additional math of my Dad being 75. Now my Dad is doing great for 75, but if he was going to help us, we did not want to keep holding this off any longer.
10) Don't Be So Hard on Yourself
OK, this is a tip I have yet to really master. Let's face it, we are going the DIY route to save the cost of hiring a professional. However, that means the work is not going to be done by a professional. There will be mistakes and set backs (there tends to be an elevated level of cursing coming from wherever I am working). When you are done, you will know where every single imperfection is, even though most everyone else will never spot them. So give yourself a break and be happy that you did it yourself, you saved a bunch of money, and to the rest of the world, it looks great!! That is one of the best of the DIY tips!